
Creating your personal Snapchat AR lens? Want some badass music to add on but don’t know how to add sound to your Snapchat lenses? Then don’t worry we have got your back!!
Snapchat lenses are the soul of the Snapchat platform!! There are plenty of types of lenses available on Snapchat. Many turn you into an animal, and many add a virtual background or play a sound of your choice in the background! If you are into creating lenses then we would suggest you learn how to add sound to your Snapchat lenses and give the melody of your choice a wide exposure!!
Here’s how to add sound to your Snapchat lenses: lens studio > lens project file > object panel > add > search audio > asset library > sounds > search sound > select sound > download > import > object panel > select audio component > select track > OK > enable autoplay loop > send to Snapchat > test lens > project info > name lens > add lens preview > Apply!
This blog post is all about learning how to add sound to your Snapchat lenses. So, go ahead and read.
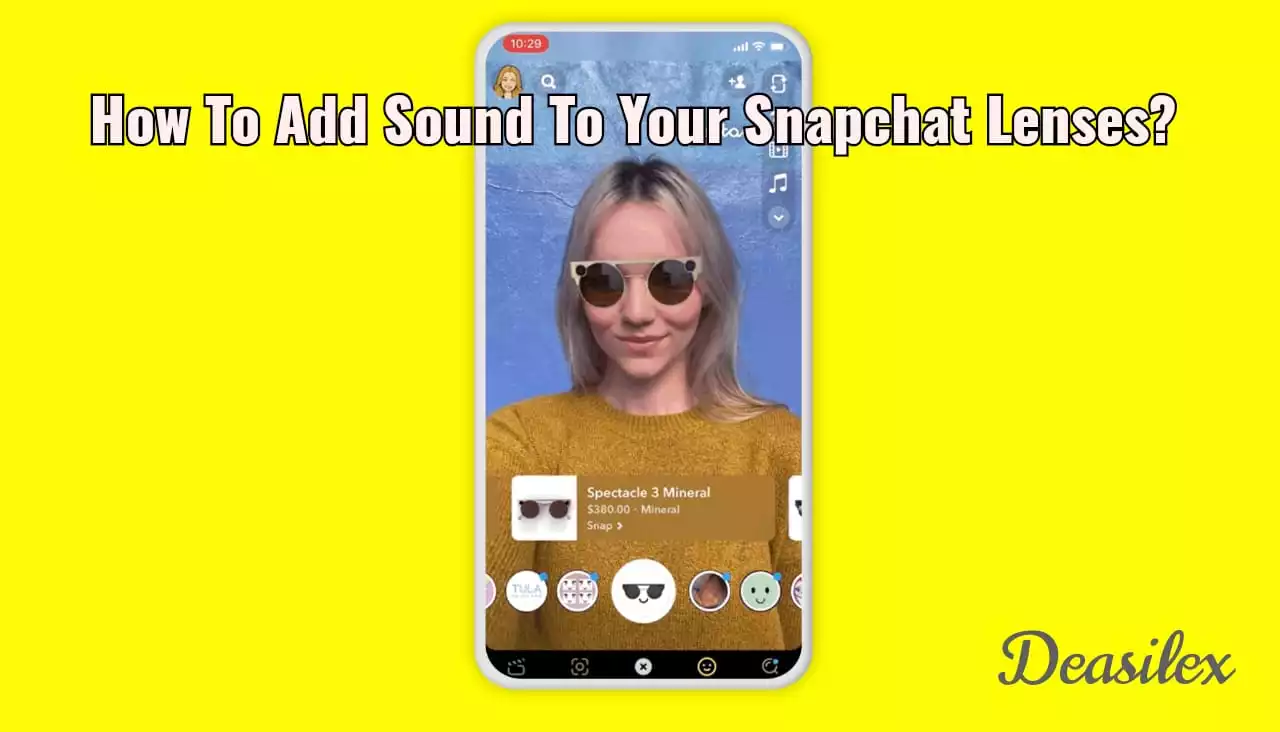
How To Add Sound To Your Snapchat Lenses?
Snapchat is known for its wide variety of lenses!! If you are fond of them and want to create one of your own then you have found the right place to explore how to add sound to your Snapchat lenses!! Without delaying a minute further let’s dive into the instructions that will help you with adding sound to your lenses!!
Step 01: Launch Lens Studio on whatever device you are using to create your Snapchat lens and open the Lens Project File as soon as you enter the studio.
Step 02: Navigate through the left sidebar of the screen and find the Object Panel and tap on the Add button (plus icon) and enter Audio in the Search Bar and hit the lens icon.
Step 03: Once the results appear, tap on the Audio. Next, you need to drag and drop the Audio component at the top of all the components in the Object Panel to avoid hindrance in audio effect by any other component.
NOTE: If you want to use your personal or custom audio or sound effect then you can head to the Resources Panel and tap on the Add New Resource button and add a MP3 file to your lens project. And if you want to use music available on the Lens Studio then follow the next…
Step 04: Head to the Asset Library and select Sounds from the left navigation bar and select any one Sound you wish to add to your lens and if you don’t find the sound of your liking from the suggestions then enter the Artist’s Name in the Search Bar at the left and then select the audio.
Step 05: After that, you need to Import The Sound to the project by tapping on the Download button at the top right corner of the sound.
Step 06: Next, select the Audio Component from the Objects Panel and then in the Inspector Panel select the Audio Track and tap on the OK button.
Step 07: Once done, turn on the Autoplay Loop option after which the AR lens will be ready for the testing in the Snapchat before submitting.
Step 08: After creating the lens, test the lens by accessing the Send To Snapchat feature. Once the lens is tested, you need to tap on the Project Info button.
Step 09: From there you need to Name the lens, Add Lens Preview and add any relatable Lens Hint and then tap on the Apply button.
And done!! You have now successfully added sound to your Snapchat lens and learnt how to add sound to your Snapchat lenses. To know how to optimize and publish your go-to lens project you have to follow the below given steps. You can either start the entire process from the start or just continue from where you left!
How To Optimize And Publish Your Go-to Lens Project?
Lens Studio > File > Optimize Project > Publish Lens > Submit New Lens > Set Primary Category, Secondary Category, Lens Tags, Scan Triggers > Public > Submit Lens
Step 01: Head to the Lens Studio and tap on the File. Scroll down and find the Optimize Project option from the list. Once found, click on it.
Step 02: After that, you will find a pop-up menu appearing on the screen, make sure all the options are selected there and then tap on the Optimize button at the bottom of the list.
Step 03: After this your lens project will be optimized. Now to publish your lens you have to hit the Publish Lens button at the top of the Object Panel.
Step 04: After that you will observe that the Lens Studio is uploading the lens to your Snapchat profile. Once the uploading process ends, you have to click on the Submit New Lens button on the next page.
Step 05: Next you are supposed to add a Primary Category, Secondary Category, Lens Tags, Scan Triggers to the lens and then select the visibility criteria of your lens based on to whom you want your lens to be visible! We’d recommend you to select Public.
Step 06: At last, hit the Submit Lens button and you can now share all the lens details to all your social media platforms and done!!
And that’s it!! You have successfully added sound to your lens and published it!! For more Snapchat related helpful guides you have to refer to the below linked articles!!
Wrapping Up
Snapchat AR lenses are the best part about Snapchat. These lenses make the users experience the extraordinary just by sitting at a place and tapping on screen. It will make you visit different places, show you what you will look like after years or will show what your childhood looks like or will suggest you a song based on your looks etc. So, for whatever reason you ever feel like creating a lens with audio effects in it we would recommend you to use this guide on how to add sound to your Snapchat lenses.
Frequently Asked Questions
Q. Can You Add Your Own Music To Snapchat?
Yes you can add your own music to Snapchat. Here’s how to add sound to your Snapchat lenses: Lens Studio > Lens Project File > Object Panel > Add > Search Audio > Asset Library > Sounds > Search Sound > Select Sound > Download > Import > Object Panel > Select Audio Component > Select Track > OK > Enable Autoplay Loop > Send To Snapchat > Test Lens > Project Info > Name Lens > Add Lens Preview > Apply!! And done!
Q. What Audio Format Does Lens Studio Use?
Snapchat Lens Studio supports MP3 format to be added to your Snapchat lens. Make sure you use Mono instead of Stereo.
Q. Does Snapchat Has Text To Speech?
At present Test To SPeech supports US English with a pair of voices, six different voice styles for both voice and the ability to play with the pace of TTS speech playback.
Q. How Do You Add Your Own Music TO Snapchat On Android?
If you want to use your personal or custom audio or sound effect then you can head to the Resources Panel and tap on the Add New Resource button and add a MP3 file to your lens project.