
Your iPhone is showing you the error “SOS” again and again? Here is how to fix SOS only on iPhone.
When your iPhone starts popping SOS errors again and then consider that there is something wrong with your cellular network! You will find this SOS or SOS only at the top left corner of the status bar. However, in a few regions, you would still be able to make emergency calls through iPhone in such situations. To prevent yourself from falling into such situations you have to learn how to fix SOS only on iPhone.
Enable data roaming, restart iPhone, switch to LTE or 4G, update carrier settings and reset your network settings. This is how to fix SOS only on iPhone. To know how to do these in particular you have to follow the below given sections.
This article explains the top ten easy ways for how to fix SOS only on iPhone. If you are also fed up with the SOS popping up again and again then this article is something you must know!!
How To Fix SOS Only On iPhone?
If SOS is interrupting your iPhone operation then there is nothing about which you have to worry! This is just an error that occurred due to cellular network issues. So, if you are observing “SOS” or “SOS Only” errors at the top of your iPhone screen then know that the SOS is a setting that can be turned on by mistake by a long press on the volume and power buttons. Although, it’s possible to fix SOS only errors from your iPhone with the help of this detailed guide on how to fix SOS only on iPhone.
Also Read: How To Fix iPhone Not Ringing When Locked? The Guide Steps!
Fix 1: Enable Data Roaming
Ensure that you have turned on the Data Roaming in your iPhone while wandering or moving somewhere from one place to another. The “SOS Only” may pop up only if your SIM does not have roaming facilities. In order to turn it on, follow the below-given instruction:
Settings > Mobile Data > Mobile Data Options > Data Roaming Mode > Data Roaming > Turn On
Step 01: Head to the Settings app on your iPhone and click on the Mobile Data button.
Step 02: Under the “Mobile Data” section find and click on the Mobile Data options and tap on the switch next to the Data Roaming Mode in Settings.
Step 03: At last, toggle the switch “Data Roaming”.
And done, you have successfully turned on data roaming to fix SOS only on your iPhone.
Fix 2: Restart iPhone
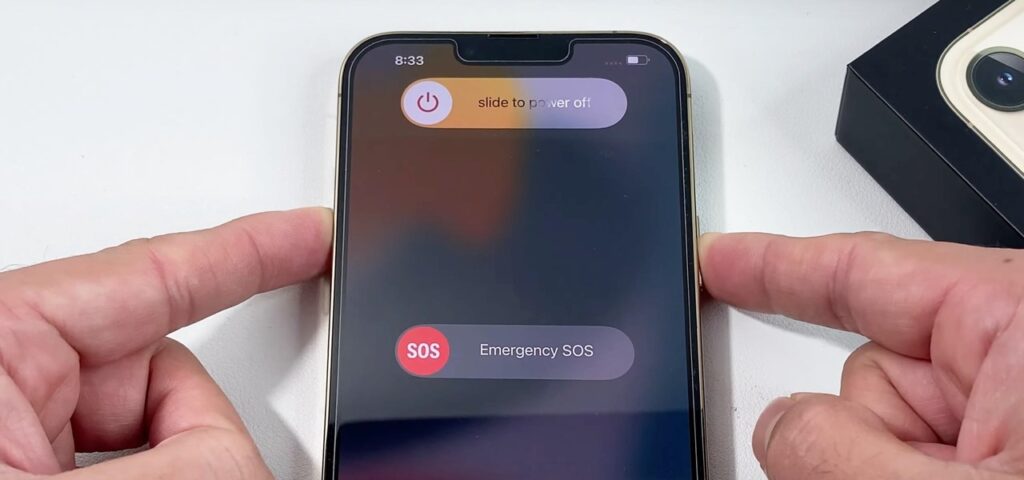
An iPhone restart can fix the SOS-only error if it’s temporary in your device. Restarting your iPhone will also refresh and remove all the bugs in your iPhone. In order to restart your iPhone, long press the Power button and Volume-Up button for a couple of seconds altogether until you view the Switch-Off option. Next, slide the slider to the right side of the screen which says “Slide To Switch Off”. After that, wait for a minute or two and then switch on your iPhone back again by long pressing the Power button.
Fix 3: Switch To LTE or 4G
Post the launch of 5G connectivity, many iOS users are getting “SOS” or “SOS Only” on their iPhones. This may occur because SOS Only affects the only devices with weak signal strength and drain your battery span quickly if not fixed! So, if you are facing the same thing lately, then you need to turn off the 5G network on your iPhone and get back to 4G.
You can switch to 4G from 5G from the “Cellular Data Options” in the Settings app and then head to the “Voice And Data” section where you have to click on the LTE button below the 5G. And done, now head back and try to operate the device.
Fix 4: Update Carrier Settings
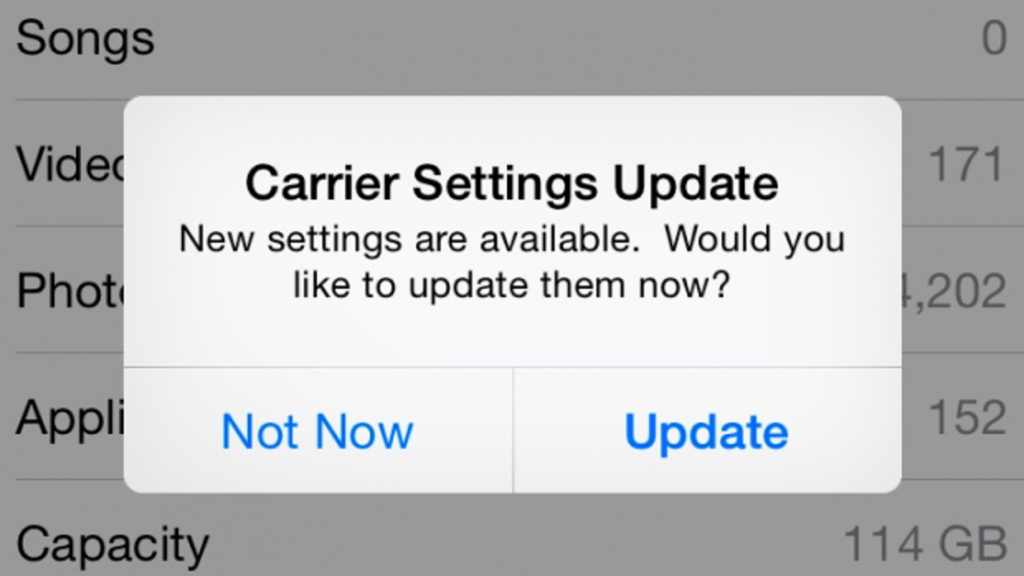
The carrier settings are meant to enhance the all over functionality of the network connectivity. Although it’s meant for looking out for networks by default, it can also be updated manually under the “Carrier Setting” option if there are any available for the same purpose. Before moving forward, ensure that you are connected to a strong and stable WiFi or internet connection.
Fix 5: Reset Network Settings
If none of the above mentioned methods worked out for you till now for how to fix SOS only on iPhone, then try this one! Resetting your network setting completely can be an effective way to make SOS Only error disappear from your device. The only disadvantage will be that it will also remove saved WiFi passwords, Bluetooth devices, etc. from your iPhone. So, follow the below given instructions to reset network settings:
Settings > General > Reset iPhone > Reset > Reset Network Settings > Password > Confirm > Reset Password Settings
Also Read: How To Fix iPhone Volume Button Not Working? Know 8 Fixes!
Step 01: Launch the Settings app on your device and head to the General tab.
Step 02: Scroll down and hit the Transfer or Reset iPhone button.
Step 03: Next, click on the Reset button and select Reset Network Settings.
Step 04: You will now be directed to the Password window, enter your password And confirm the action.
Step 05: At last, tap on the Reset Network Settings option once again, and done!
Fix 6: Check Your Coverage Area
If “SOS” or “SOS Only” appears in the status bar on your iOS device, then you must have a look at your current coverage area! To avoid SOS or SOS Only, you need to make sure that you are in an area with the proper cellular network coverage. Here’s how you can do that!
Settings App > Cellular > Cellular Data > Turn Off > Turn On
Step 01: Turn off your cellular data and back on again by heading to the Setting app and then navigate through the Cellular Data or Mobile Data section.
Step 02: If you are accessing an iPad then you will see Cellular Data, toggle the switch next to it and wait for a couple of seconds and turn it on back again.
If you are shifting from one place to another like some foreign place, then make sure that your device is having its Data Roaming mode on! For this you have to navigate through the Cellular tab in the Settings app and then click on the Cellular Data Options from where you have to turn on Data Roaming!
Fix 7: Contact Your Carrier
There are strong chances that you are seeing SOS or SOS Only because of issues going on with your carrier or account. To get rid of this you need to contact your carrier so that you may verify that your account is active and is working well! Also ensure that there are no outages in your region.
Also, don’t forget to check if your device is blocked from receiving cellular services and is set up with the right data plan. Remember that only wireless carriers can use and control details about your account! Go for iPhone wireless carriers or iPad wireless carriers.
Fix 8: Turn Cellular Line Off And Back On
Turning Cellular Line off and back on is another way for how to fix SOS only on iPhone. Look below for the details for the same:
Settings > Cellular > Cellular Line > Turn On
Step 01: Launch the Settings App and tap on the Cellular tab.
Step 02: Make sure the Cellular Line is in on mode and if it isn’t, then Turn it On instantly!
See if the service is still working! If the cellular line doesn’t appear then head to the Settings app and then navigate through the Cellular section. Set up an eSIM or insert a physical SIM card. If you are operating a physical SIM card, then try removing it and reinserting it again!
If you notice that your SIM card is damaged or simply isn’t fitting in your SIM tray or just inserted it in any of your other devices, then you can demand a new SIM card from your carrier.
Fix 9: Disable VPN
Accessing VPNs can also be one of the potential causes of SOS or SOS Only on your device. To make VPN activity not interrupt with your carrier services you need to turn it off or it will end up creating a bug on your device!
Settings > General > VPN & Device Management > Turn Off
Step 01: Head to the Settings app on your device and tap on the General tab.
Step 02: Next find and click on the VPN & Device Management.
Step 03: At last, toggle off the Switch next to the VPN to disconnect it!
Fix 10: Switch To eSIM
Many of the iOS users have also been reporting that the Dual SIM users are the only ones who are facing SOS or SOS Only! If this is happening to you too, then know that Apple has rolled out the iPhone 14 and iPhone 14 Pro with the eSIM facility. Such bugs can be expected in iOS 16!
We would highly recommend you switch to eSIM and stop accessing physical SIM cards for how to fix SOS only on iPhone!
And yea, that was all about how to fix SOS only on iPhone! If you are facing any other glitch on your iOS device, then here are a few of the articles that might help you get through it!
You May Also Read:
- How To Fix iPhone Charging On Hold Error In iOS 16?
- How To Fix iPhone Contacts Say Maybe 2023? 6 Methods To Fix Your Issue!
- How To Fix iPhone Group Text Not Working [2023]? Your Guide Is Here!
- How To Fix iPhone Won’t Make Or Receive Calls But Can Text?
- How To Fix iPhone Voicemail Full? 4 Easy Ways To Fix!
Wrapping Up
The SOS Only or SOS warning appears only in the carrier field at the top of your iPhone’s screen, which means that you can only make emergency calls through your iPhone because you are running very low on the network and due to SOS also! You can get rid of this if you know how to fix SOS only on iPhone. And if not, then read the above mentioned fixes and try them out!
Don’t forget to share this article with your friends who go through such situations more often! Also our comment section is available for your reviews, suggestions and queries! Feel free to drop some!
Frequently Asked Questions
Q. How Do I Fix My iPhone Stuck On SOS?
If you find SOS or SOS ONly on top of your screen then do this: Check coverage area, restart your iPone, check service provider settings update, disable network and turn it back on!
Q. How Do I Unlock My iPhone SOS?
Long press the Power button for around 3 seconds and hit the Emergency Call button before sliding to switch off appears and then your iPhone will be unlocked!
Q. How Do I Turn Off SOS On iPhone?
Here is how to turn off SOS on iOS: Settings > Advanced Settings > Send SOS Messages > Turn Off.
Q. What Does “SOS Only” Mean on iPhone?
The SOS-only warning appears at the top of the iPhone screen while your iPhone is not getting network. And you can only use emergency services like 911, 112, etc.
Q. Why Does My Phone Say “SOS Only”?
“SOS Only” means that the iPhone network service you uses is out of range but you are getting the network of another telecom network. This means you can still call for help if you find yourself in trouble but outside of normal cell phone range. “SOS Only” will appear when you’re traveling abroad depending on which country you are calling from.