

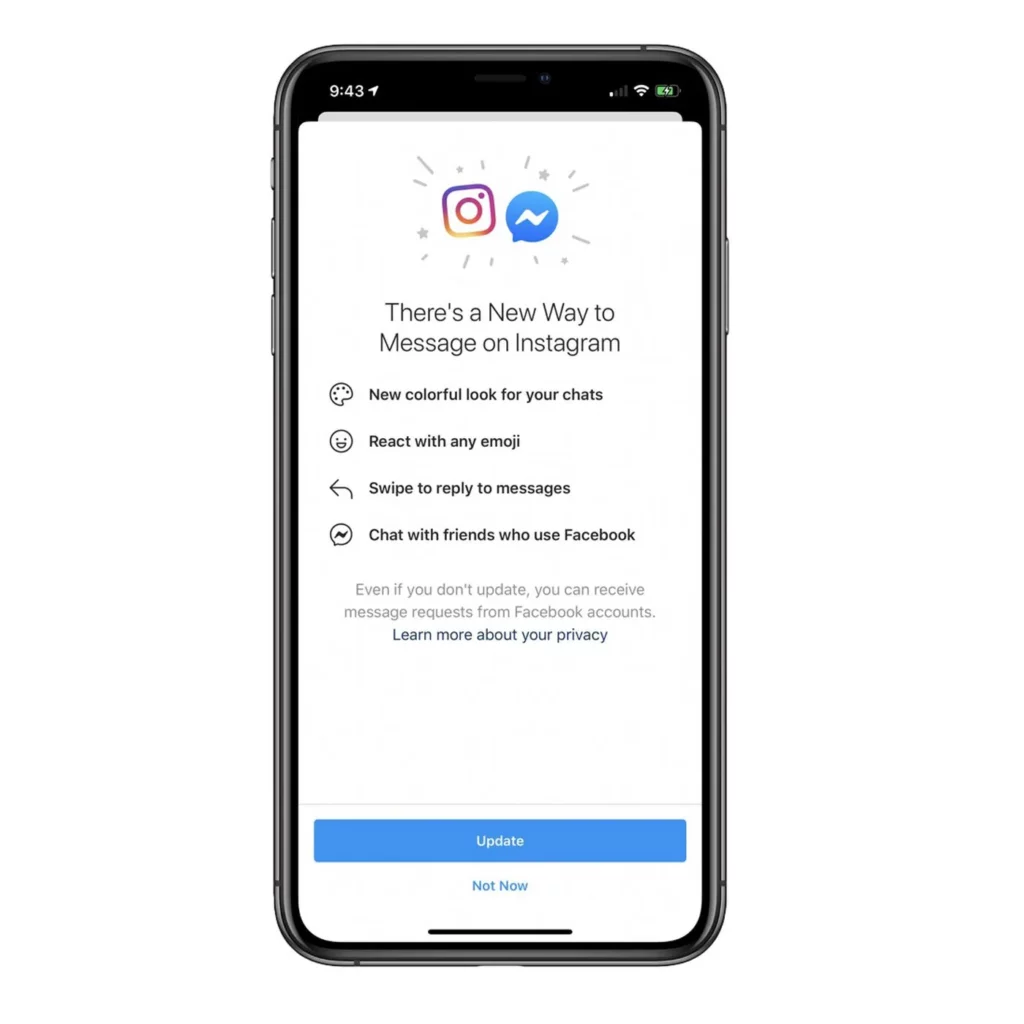
Facebook and Instagram are owned and controlled by a single company Meta. As the parent company is the same, so you can exchange data between the two apps. This post covers how to stop Facebook message requests on Instagram app.
You can create an Instagram account from the Facebook account directly. The same is true for the login as well. You don’t need to use your login id and password, directly tap on the Facebook button and you can log in. The same is true for the messages as well. You can enjoy messages on both platforms without having to switch between the apps.
If you have synchronized the messages of Facebook on Instagram and you are even getting message requests from Facebook, then we will find out how to stop Facebook message requests on Instagram. So, without further ado, let’s start.
How To Stop Facebook Message Requests On Instagram?
If you have linked your Instagram account with your Facebook account, you can send and receive messages from both platforms. You will receive Facebook messages on Instagram. Also, you can get Facebook message requests on Instagram. If it is annoying you, then can stop message requests, let’s find out how to control Facebook message requests on Instagram.
Step 1: Go to your Instagram account.
Step 2: Click on your profile
Step 3: Tap on the three lines to see the menu.
Step 4: Click on settings
Step 5: Click on privacy and select messages on the Privacy page.
Step 6: Go to the message controls page.
Step 7: Click on others on Instagram
Step 8: Select the don’t receive message request.
Step 9: Click on save to save the changes.
How To Manage The Message Requests on Instagram?
You can easily manage message requests on Instagram. Here is a quick guide on how to manage the message requests on Instagram.
Step 1: Go to your Instagram profile.
Step 2: Click on the profile picture located at the bottom of the screen.
Step 3: Click on the three lines.
Step 4: Go to the settings page.
Step 5: Click on the privacy option.
Step 6: Click on the messages.
Step 7: You can choose whether you want to receive the message request from people on Instagram or not.
Step 8: You can also turn off the message requests for Facebook as well.
Step 9: Click on the message request folder to change the settings.
Step 10: Here you can turn on or off the message requests.
How To Manage The Group Settings On Instagram?
If you are annoyed because people are adding you to different groups without your consent, then here are some important settings for you. By applying these settings you can choose to add into groups or not. This setting applies to both Instagram and Facebook.
Everyone on Instagram:
By applying this setting, you will find that group chats from Instagram and Facebook account that you are already connected to will appear in your chat list. All other group chats will be sent to your message requests folder.
Only people you follow on Instagram:
If you use this setting, then the people you don’t follow won’t be able to add you to your group. This will help you a lot to avoid being added to unnecessary groups.
Blocked Accounts:
The accounts you have blocked won’t be able to see your profile nor will be able to add you to any group.
Wrapping Up
Here we conclude our post on how to stop Facebook message requests on Instagram. You can easily manage the settings and avoid being annoyed anymore. You can also manage further settings for your groups as well. This will help you to join the groups you want. We recommend changing the settings as soon as possible so that you can enjoy your social media time without being annoyed. If you find this post helpful, share it with others. Visit Deaislex for more info.
Frequently Asked Questions
Q1. How Do I Stop Getting Messages From Facebook On Instagram?
If you are annoyed by the Facebook messages on Instagram, you can stop the message requests, let’s find out how to control Facebook message requests on Instagram.
Step 1: Go to your Instagram account.
Step 2: Click on your profile
Step 3: Tap on the three lines to see the menu.
Step 4: Click on settings
Step 5: Click on privacy and select messages on the Privacy page.
Step 6: Go to the message controls page.
Step 7: Click on others on Instagram
Step 8: Select the don’t receive message request.
Step 9: Click on save to save the changes.
Q2. Why Do I Get Facebook Messages On Instagram?
You can easily receive your Facebook messages on Instagram. Here is a quick guide on how to do it.
Step 1: Go to your Instagram account.
Step 2: Click on your profile
Step 3: Tap on the three lines to see the menu.
Step 4: Click on settings
Step 5: Click on privacy and select messages on the Privacy page.
Step 6: Go to the message controls page.
Step 7: Click on Connect to Facebook
Step 8: Select the received message from Facebook
Step 9: Click on save to save the changes.
Q3. How Do I Stop Receiving Messages From Unknown People On Instagram?
Here is a guide on how to stop people from sending you message requests.
Step 1: Go to your Instagram account.
Step 2: Click on your profile
Step 3: Tap on the three lines to see the menu.
Step 4: Click on settings
Step 5: Click on privacy and select messages on the Privacy page.
Step 6: Go to the website that can send you messages.
Step 7: Click on followers
Step 8: Select anyone if you want anyone to send you messages
Step 9: Click on save to save the changes.
Q4. Why Do I Keep Getting Message Requests On Instagram?
If you are interested in connecting with people and want people to message you, then here is a guide for you.
Step 1: Go to your Instagram account.
Step 2: Click on your profile
Step 3: Tap on the three lines to see the menu.
Step 4: Click on settings
Step 5: Click on privacy and select messages on the Privacy page.
Step 6: Go to the website that can send you messages.
Step 7: Click on anyone
Step 8: Change your Instagram account to open an account.
Step 9: Click on save to save the changes.