Instagram takes continuous efforts in improvising the user experience by adding new features to the most popular Reels tab. The creators who wish to include a series of clips to their Reel can now make use of the Instagram Reels multi clip editing feature which allows to record short “clips,” that can be assembled to form a full Reel video.
For new businesses trying to increase their Instagram following, Reels is a major advantage as it is the perfect way of targeting your audience by creating entertaining and quality content.
Instagram Reels multi clip editing allows you to trim, delete, reorder, and switch between the clips. It also allows you to add effects to individual clips.
Instagram Reels are a creative and engaging method to promote your brand and your company. As a result, you must make use of your creativity when creating Reels in order to stand out from the competition using the new Instagram Reels multi clip editing features.
What Is Instagram Reels Multi Clip Editing?
You can switch between the clips and trim, delete, and reorder them using Instagram Reels’ multi-clip editing feature. Moreover, you can give individual effects to each clip.
Instagram provides you the option to create Reels by uploading videos from your gallery or by recording them all at once or in a sequence of clips. You can add as many clips as you want until the Reels’s maximum time duration of 90 seconds is reached. These multi clips can be edited with audio, filter effects and other creative tools.
How To Use Instagram Reels Multi Clip Editing?
Let’s go through each one of the processes so it becomes easy to use Instagram Reels multi clip editing.
Switching Between The Clips
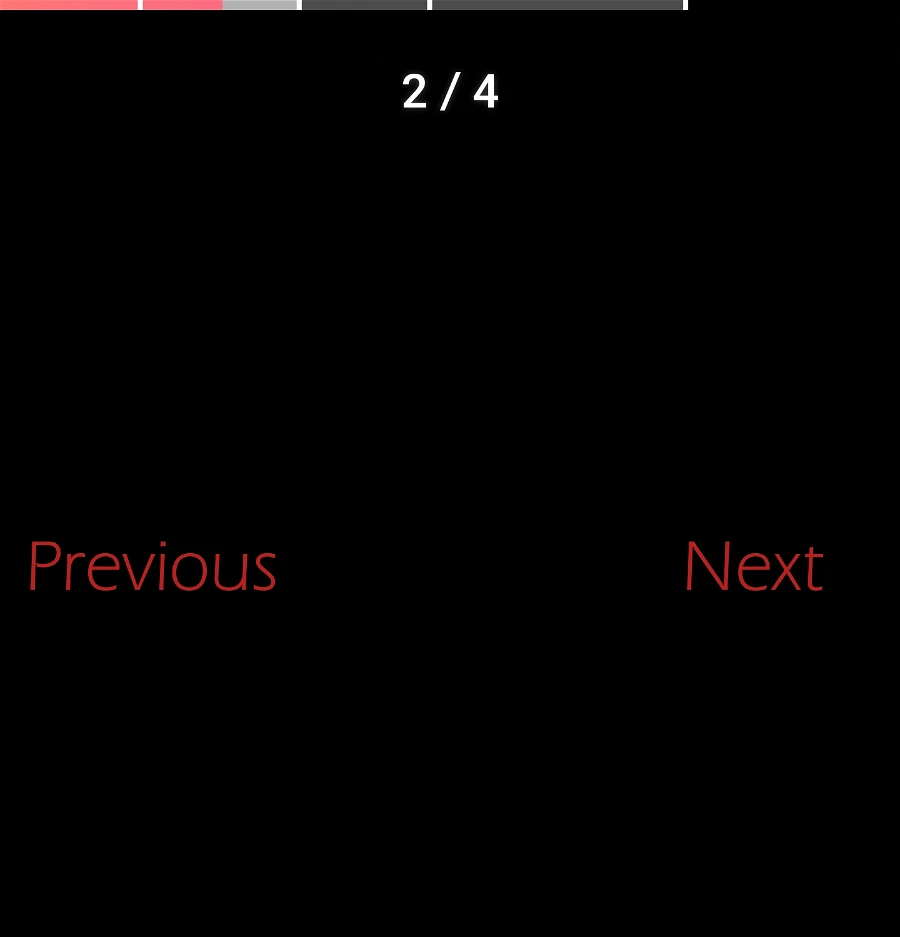
Instagram Reels multi clip editing allows you to switch between the clips easily. The previous clip can be accessed by touching anywhere on the left side of the screen and by tapping anywhere on the right side of the screen, you can move on to the next clip. You can also view the number of the clip that you are currently viewing.
Deleting Clips
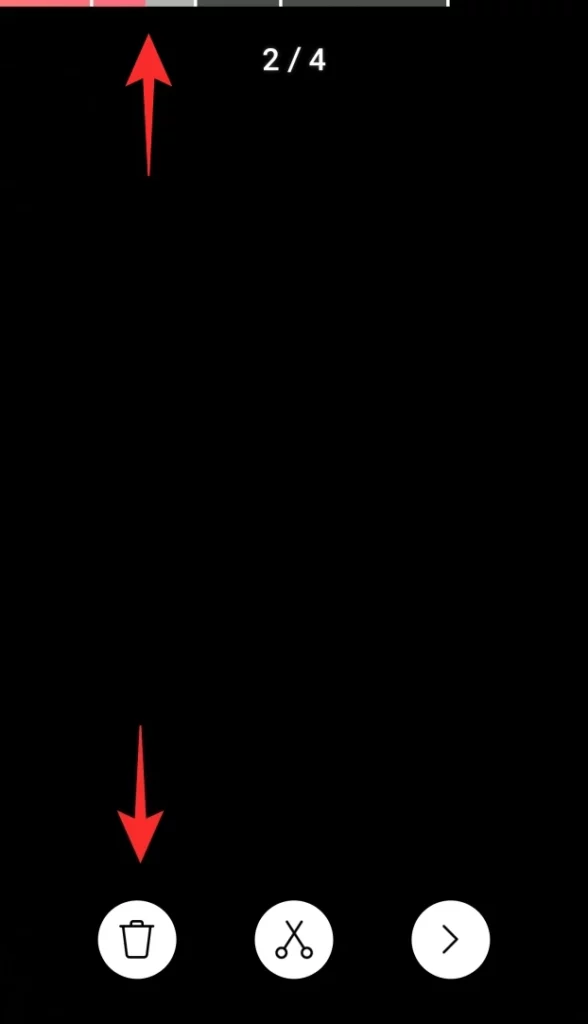
To delete clips, Locate the clip by hitting the button in the lower left corner > Navigate to the clip you want to remove > Press delete button at the bottom left corner
Here’s how to delete individual clips using Instagram Reels multi-clip editing.
Step 1: Locate the clips by hitting the button in the lower left corner before deleting any clip.
Step 2: Now navigate to the clip you want to remove.
Step 3: At the bottom left corner, press the “Delete” button.
Trimming Clips
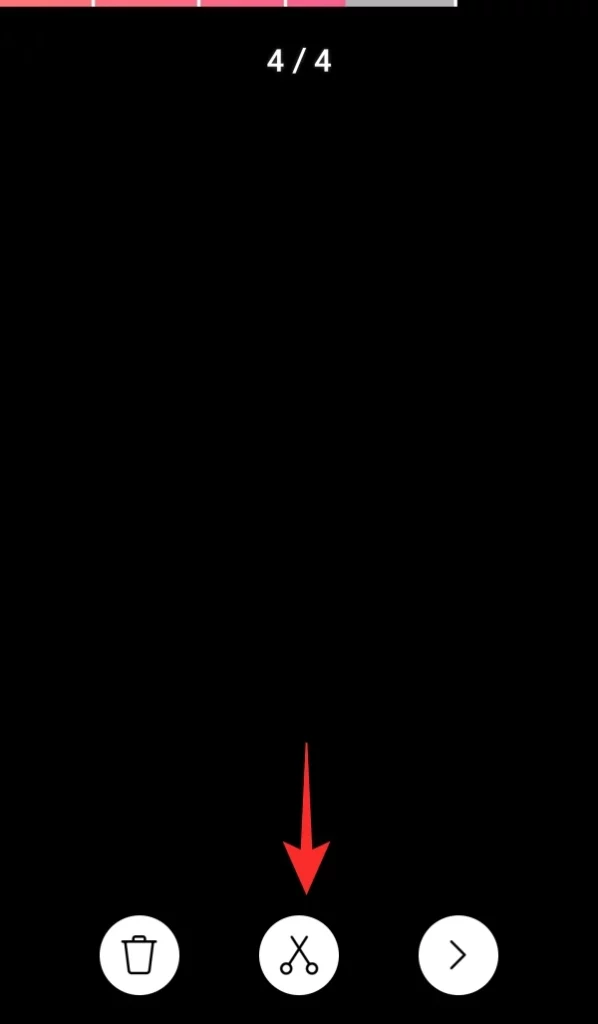
To trim clips, Locate the clip > Hit the “Scissors” button > tap “Trim” in the top right corner
You can trim a particular clip from anywhere within the content.
Step 1: Locate the clip.
Step 2: Hit the “Scissors” button from the bottom panel to trim the clip.
Step 3: Finally, tap “Trim” in the top right corner.
Adding Effects For The Clips
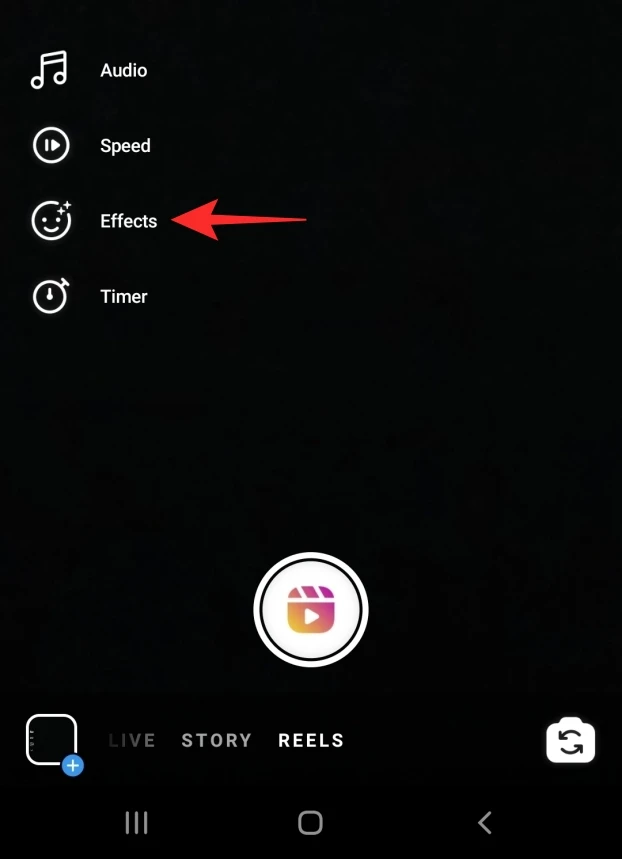
To add effects, Tap the “Effect” button > Browse the effects > Record your video with the chosen effect > Add different effects for each video clip you record.
With Instagram Reels multi clip editing, you can add effects for the clips before recording the Reel.
Step 1: Tap the “Effect” button in the left side panel.
Step 2: Browse the effects at the bottom, to add an effect.
Step 3: Record your video with the chosen effect.
Step 4: You can add different effects for each video clip you record.
Reordering Clips
To record clips, Tap the preview button after recording the Reel > Select Edit Clips > Select Reorder at the bottom > Drag the clips to the position of your choice > Press the done button
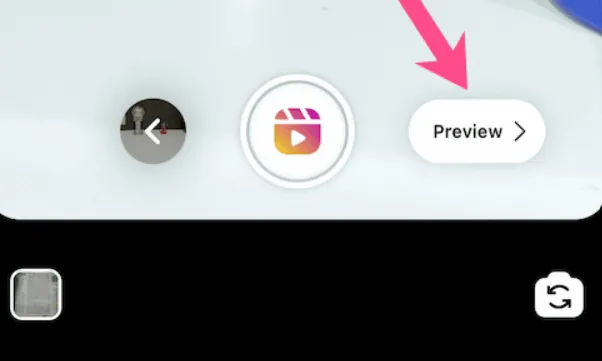
Step 1: After you have recorded a Reel with several clips, tap the “Preview” button.
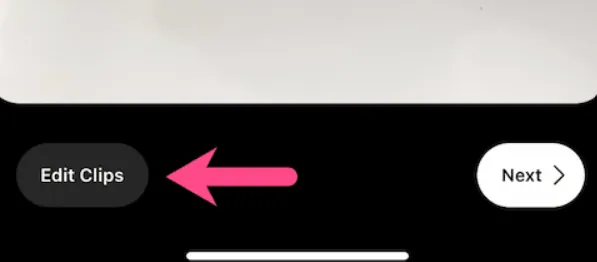
Step 2: You can see “Edit Clips” is located in the bottom left corner. Tap it.
Step 3: Here, you can see the number of the clips that you have captured.
Step 4: At the bottom, select “Reorder.” The clips will all start to wiggle.
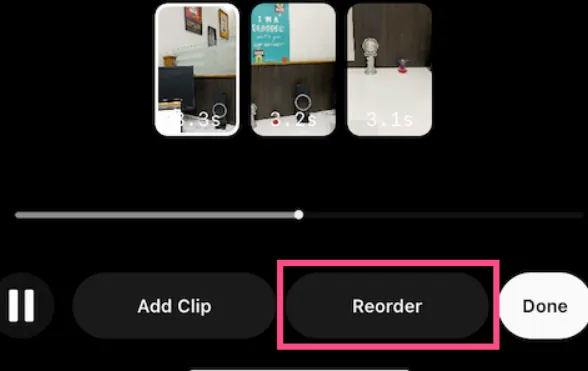
Step 5: Drag the clips to the position of your choice, then tap “Done.”
Step 6: Finally, press the “Done” button in the bottom right corner.
How To Create A Stunning Reel With Multiple Clips?
To create a stunning reel with multiple clips, Launch Instagram > Tap Upload icon > Go to the Reels page > Record upload video > Use the procedure to add multiple clips > Move sliders to choose a desired position in the clip > Add customizations by reordering adding effects > Share the post
Step 1: Launch Instagram.
Step 2: Head over to the Reels page by tapping the Upload icon.

Step 3: Hit the record button to begin recording after choosing any effects or music you want to use.
Step 4: Repeat the procedure to add another clip to your recorder and by this you can add as many clips as you want.
Step 5: You can swipe up to choose the pre-recorded video clip you want to add from your gallery.
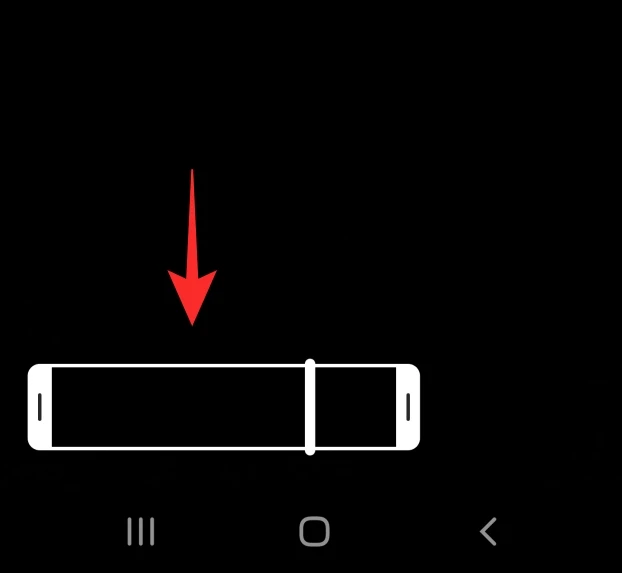
Step 6: To choose the desired portion of the video, move the sliders at the start and end of the clip, then touch Add in the top right corner.
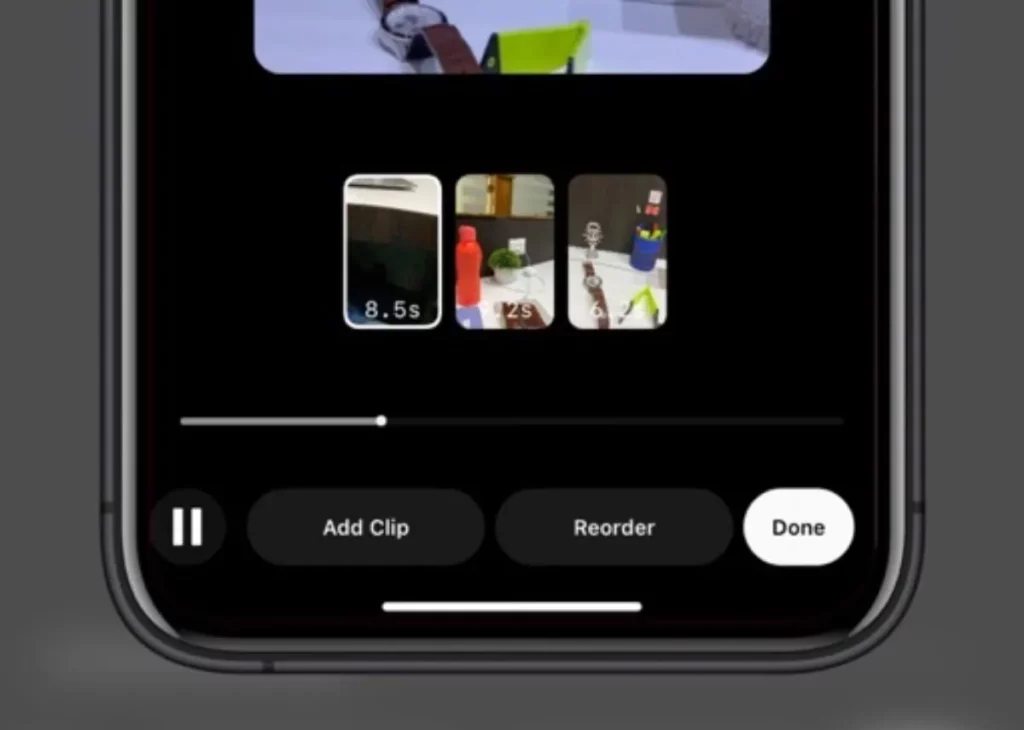
Step 7: Further, you can tap the backward arrow button to reorder or delete any clips.
Step 8: When finished, tap the arrow to go to the editing screen. Here, you can add text and other effects to your Reels.
Step 9: Finally, you can post this stunning Reel with multi clips.
Benefits Of The Instagram Reels Multi Clip Editing
Instagram Reels Multi Clip Editing Saves Time
Multi clip editing saves your time as you need not spend much time on recording individual videos and merging them into one using a third-party app. All you need to do is, use the inbuilt Instagram Reels editing to record multiple clips and Instagram does the job for you by compiling it as a single video.
Advanced Video Editing Features
IG’s multi-clip editing provides you with advanced features with which you can be creative in making your videos. It lets you trim, switch, reorder, and add effects to your clips.
Useful For Business Purposes
Business creators of Instagram are highly benefited from the multi clip editing features as they can create individual clips about the products and make it interesting for their audience.
Wrapping Up
As Instagram Reels is the most used feature among the monthly active IG users, it is necessary to give special attention in creating Reels as a way of attracting the viewers. The Instagram Reels multi clip editing is one of such amazing features that lets you experiment with different versatile features and techniques. Visit our website Deasilex for more such informative and interesting articles.
Frequently Asked Questions
Q1. How Many Clips Can I Add To An Instagram Reel Using Multi-Clip Editing?
Ans. As many clips as you want can be added to an Instagram Reel but you must make sure that it is not exceeding the Reel’s maximum time limit.
Q2. Can I Edit Individual Clips Within An Instagram Reel After I Have Added Them?
Ans. Yes, it is possible to edit individual clips with an Instagram Reel after either recording a Reel or uploading it from the gallery.
Q3. Can I Add Clips To An Existing Reel?
Ans. Yes, you can add clips to an already existing Reel by tapping on the “Add clips” button and pressing the capture button to record the clips.
Q4. Can I Edit Individual Clips In An Instagram Reel?
Ans. Yes, you can edit individual clips in an Instagram Reel by reordering, trimming and deleting the clip.
Q5. How Do You Put Different Text On Different Clips Reels?
Step 1: Launch Instagram and go to the Reels tab.
Step 2: Record or upload a video.
Step 3: Tap the Aa icon in the top right corner of the screen to start adding text to individual Reel clips.
Step 4: At the bottom of the screen, tap the box that contains your content. You can see a preview of the Reel at the bottom.
Step 5: To add text to only one clip in your Reels video, simply slide the edges of the Reel, so that it plays at the precise moment you choose in your Reels video.

