
What if I tell you, to shoot a vlog you really don’t need any kind of fancy gear that everyone’s talking about? You don’t need to build any crazy camera setup? You honestly just need your phone!!
Sounds fun, right? Let’s build up this fun a little more. You just need your smartphone to start making videos, videos that people actually watch. In this post, I’ll be talking about some of the techniques, skills, and gear that you can use with your phone to be able to get better vlogs.
Start vlogging using your android phone. Now let’s talk about what you actually need to start vlogging. The first thing you need is your smartphone, the phone on which you’re reading this post is actually good enough to get started. It should have a camera and you should be able to edit on a basic level, the blog you create.
What is Vlogging?
Blogs in the form of video content are termed vlogs. It can be related to anything ranging from basic lifestyle videos, to travel videos or vlogs that provide any sort of information that draws the attention of the viewers.
And the best part about vlogging is even if you don’t have a topic to shoot on, you can simply document your normal life routine and it becomes a matter of enjoyment for the audience.
How to Start Vlogging Using Your Android Phone
It’s always good to keep experimenting. Vlogging is so much fun, requires creativity and your capturing skills too. Mobile phones have always been a part of our life. We have captured some of the most precious moments using our phones. How can it not be suitable for creating vlogs?
If you know what you want to blog about and are all set to try your photography skills using your Android phones, then follow these simple steps and get started.
#Step 1: Shoot Your Video in Airplane Mode
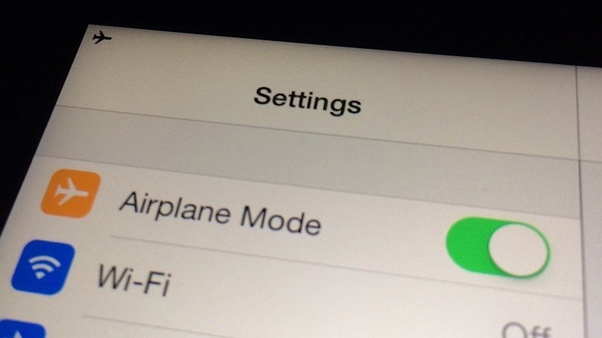
Less the disturbance, better the video. Turn off your phones to airplane or flight mode and then start shooting. You definitely don’t want to be distracted by a phone call, a message or any other notifications while shooting your video.
#Step 2: Horizontal Orientation of the Phone is Preferred More
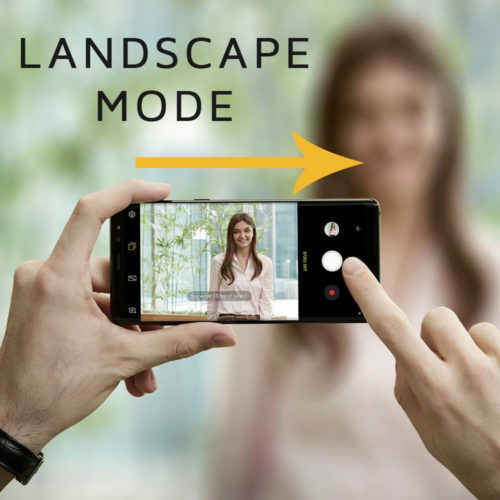
Hold your Android phones horizontally, unless you want black bars on the sides of your video. People are habitual of shooting or using their phones vertically, that’s why they may try shooting vertically.
This time try shooting horizontally and feel the difference. Not just the video comes out to be a lot better but the view looks much better and gaps are filled up.
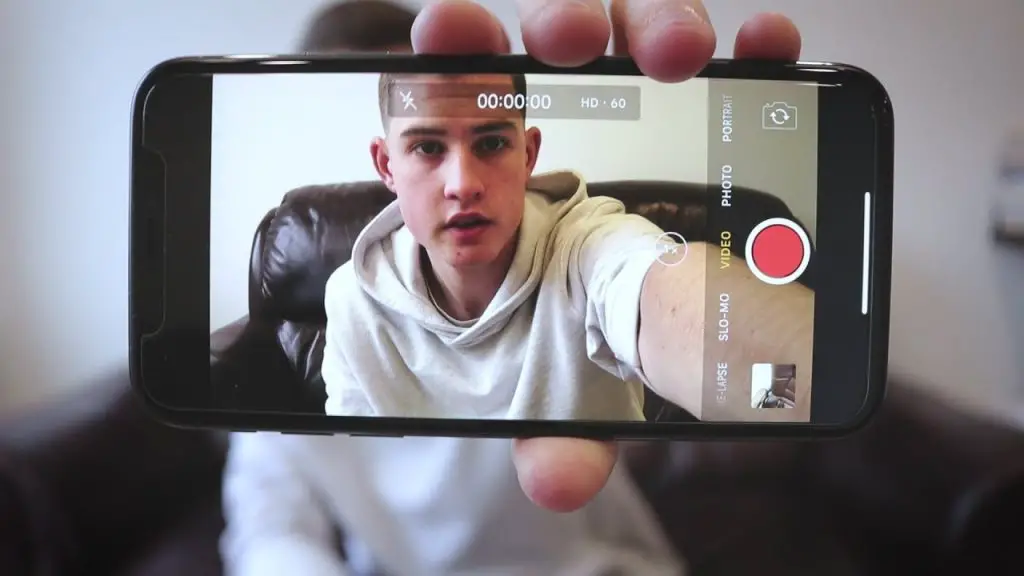
#Step 3: Record a Test Footage Especially If You’re Self Shooting
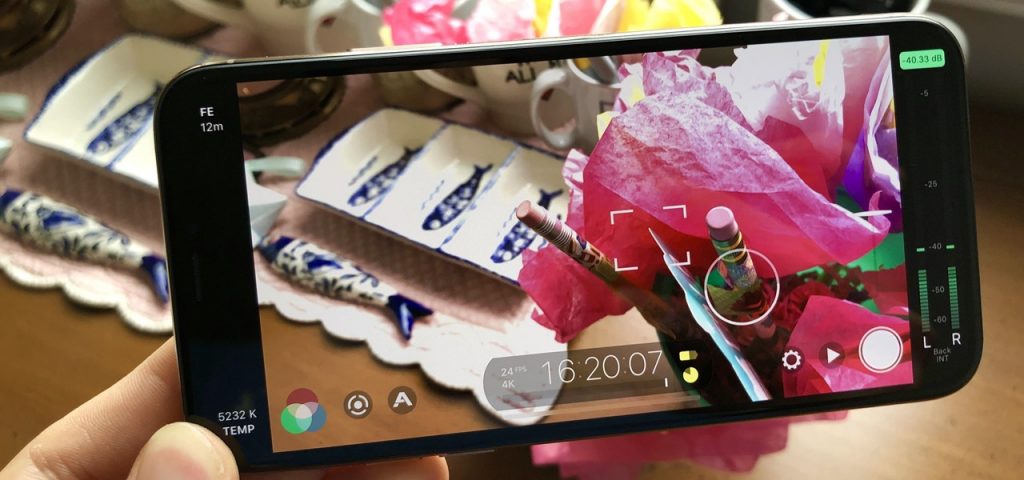
A patch test is always preferred before using any skincare product. Well, in this case, test footage is your patch test. If you’re new to shooting and are shooting a video all by yourself, shooting a 5-10 seconds test video is a good choice.
Check the shot, see what looks odd, make changes and you’re ready to record the main video.
# Step 4: Frame Your Shots Using the Rule of Thirds
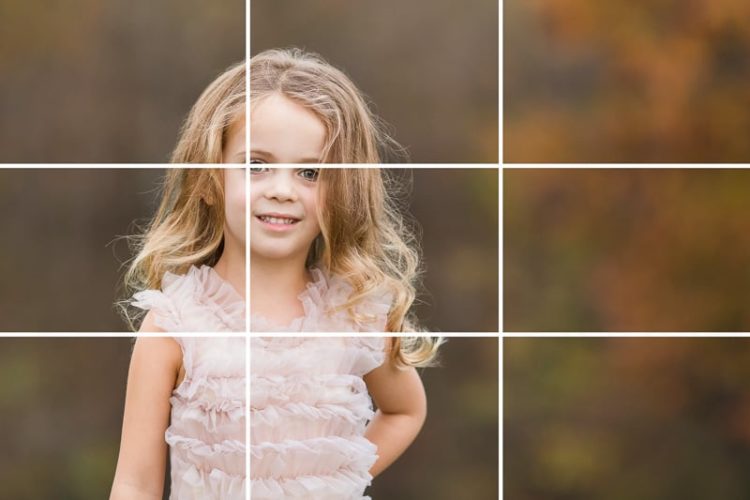
The Rule of Thirds is a tic-tac-toe-like grid composition used as a guide to frame the subject. Place your subject along the grid lines and your shot will look more professional.
#Step 5: Edit on Your Android Phone
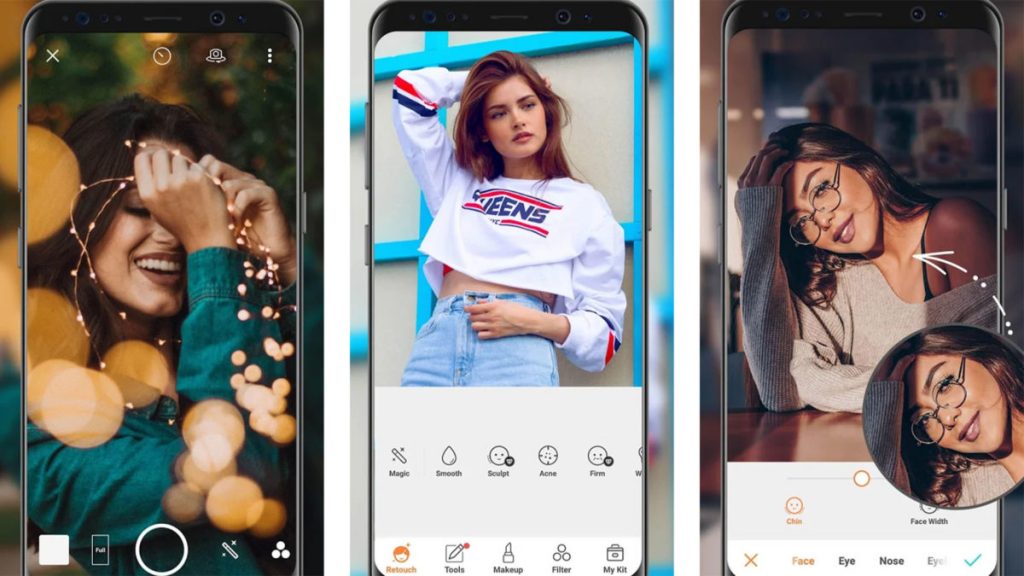
Last but not the least, you need to edit your content using your android phone. But editing required some technical skills, right?
Yes, it does. But you can edit using great video apps available on your android phone itself. Many inbuilt features of your phone can be used for editing like adding text to the video, narration, and music of your choice with just a few swipes.
Essential Equipment For Vlogging
Now that you’re doing everything via your android phone, make the shooting experience better by using the right equipment for vlogging. What all equipment can I use for vlogging? Here’s the guide, have a look.
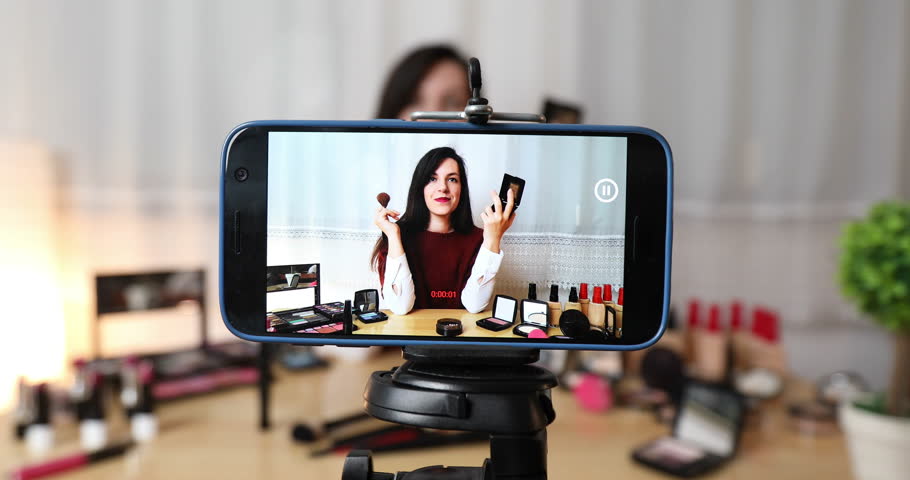
Tripod Stand
The first and the most essential equipment is the tripod stand. For a better, steady video you can use a tripod stand to hold your phone.
Plus it saves you from holding the phone for too long. Just place the phone on the tripod stand and make your video, then whether it be a dancing video, a cooking recipe, or anything you want.
Good Light Equals Good Video
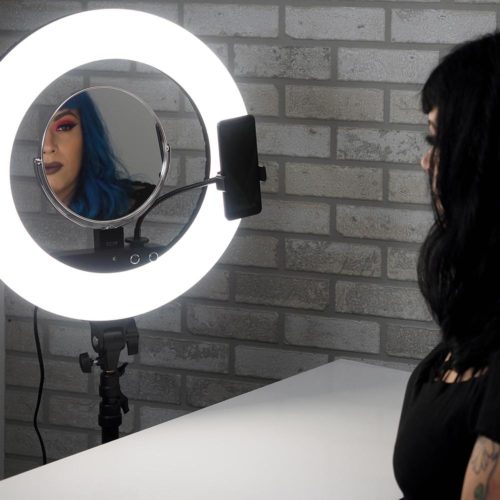
It’s a fact that the better the light, the better the quality of your video. Having a ring light can add wonders to the filming content.
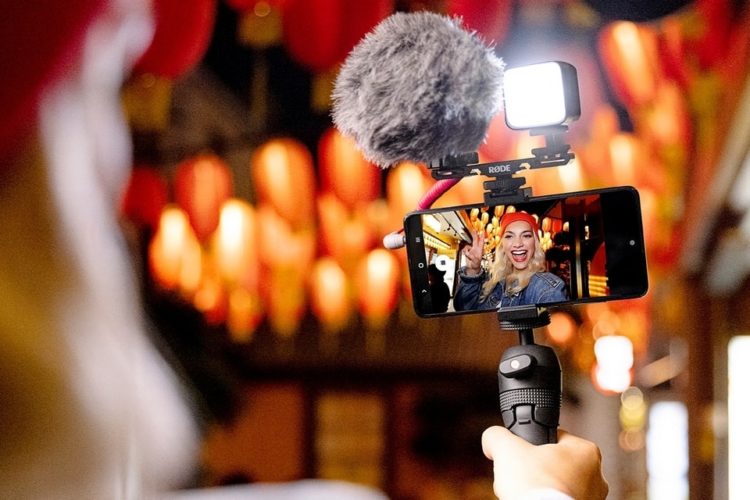
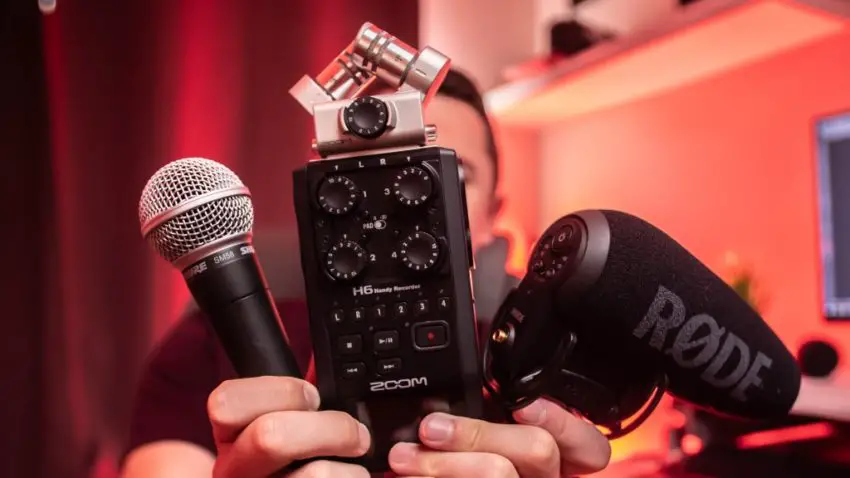
Microphone for Better Sound Quality
Hello!! Hello!!
Am I audible?
You definitely don’t wanna create this scenario. Having a mic or microphone can save you from this.
For a better sound quality for your videos, use a mic.
You need to invest some money to buy these equipment. Although for beginners it is preferable to vlog using their Android sets only. And by the time you feel you are all set to take a step ahead, buying this three basic equipment can be the right choice. Hope now you know how to start vlogging using your Android phone. For any query reach out in the comment section below.
Featured Image Credits: Shutterstock