
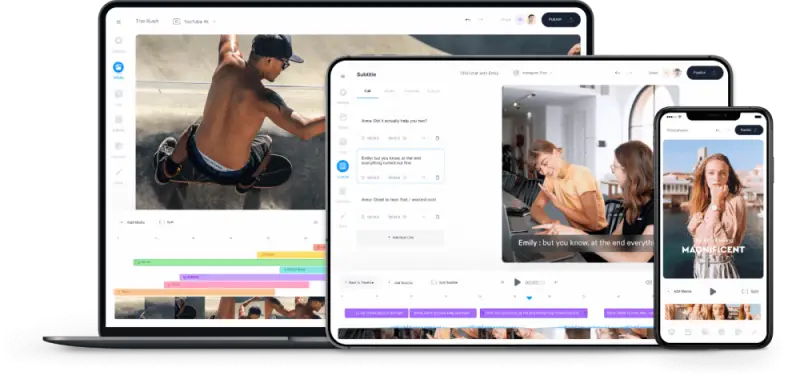
The Internet gives you endless choices when it comes to finding video editing tools. But have you tried “Veed” the online video editor yet? Since online content creation is very much in demand these days, Veed helps you with all the necessary editing for your videos. The question is How to record and edit high-quality videos on Veed?
Zoom calls, Google Meet, and FaceTime have become an everyday routine with everything shifting online. Businesses, schools, and even filming projects, everything works on online tools and gadgets now. The best part is there are so many tools to make your life super easy when it comes to showcasing your ideas publicly on social media platforms.
Whether it’s an important presentation, client project, or maybe a video tutorial on fashion designing, learn how to record and edit high-quality videos on Veed. In this way, you can easily save and create a backup of these videos for later purposes. The first step is to go to Veed.io and click on start a new project.
As soon as the new project window appears, you can start editing your downloaded videos. But before we talk about the editing part, let’s have a quick overview on how to record the video on Veed in the first place?
How To Record and Edit High-Quality Videos On Veed?
Whether it’s recording a Zoom meeting or any online video from an e-learning platform like Udemy, you can use Veed for the best video editing experience. Here’s everything you need to know about video editing.
You may also be interested in How To Record Discord Audio Using Third-Party Software.
How To Record Zoom conference call videos on Veed?
Recording a zoom video is easy. Simply follow these steps and get your desired videos downloaded.
- While you are on a zoom call, look at the bottom right side of the screen for the “record” option. This option allows you to record any zoom call or meeting.
- Click on the record button. Your call is being recorded now. Suppose you are sharing your screen in a Zoom meeting. All your screen activity will be recorded right from the beginning when you press the record button.
- As the meeting ends or you yourself end the zoom call, a pop-up window will appear on the screen saying that “You have a recording that needs to be converted before viewing”. Below the screen, you’ll find a “stop converting” option too, in case you want to end the recording.
- Like this, your video will be saved to your computer. It will be available in three file formats:
- Only the Zoom audio is saved as a .m4a file.
- The video is saved as a .m3u file.
- The most common form of video is saved as a .mp4 file.
How To Edit a Video on Veed?
From whichever platform you have recorded your video, it needs few modifications before going public. Like you need to trim the extra part, add captions to videos, change effects, and more. Follow these steps to edit a video on Veed.
How to trim your Zoom Video on Veed?
- The first step is to upload the downloaded video to Veed online video editor. Go to veed.io and start a new project. You need to upload the desired video into this new project window.
- Now comes the editing part where you get to trim your video. At the bottom of your screen, next to the timeline, click on the Trim button.
- As soon as you click the Trim button, you can start trimming the video from any portion like from the start, mid, or ending sections.
- Just drag the cursor to the important portion of the video and cut the rest. Save the final results.
Find out Can You Screen Record Facetime? – The Legal And Illegal Aspects!!
How To Add Subtitles To Zoom Video?
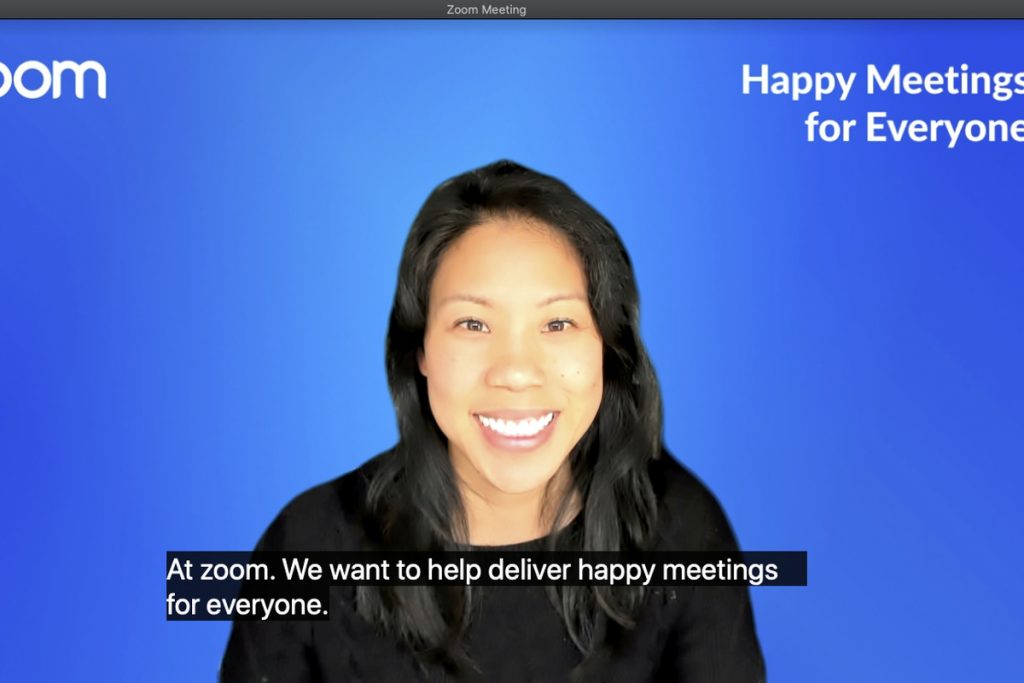
We all know that Zoom calls do not always guarantee the best audio and video quality. That’s why adding subtitles to your recorded Zoom video becomes important. It makes your content more appealing and people can even enjoy the video by having their sounds off if you have added subtitles to it. You can add captions to videos which can massively boost accessibility and audience engagement, both subtitles and captions can drastically improve the viewing experience for people with hearing impairments and overall make your content inclusive and accommodating to various situations.
Subtitles can simply be added on Veed. Here’s how:
- At the top left toolbar, click on the “subtitle tab”. Now select Auto Subtitle.
- Veed will automatically convert the audio in the video into subtitles. It may take a while for processing.
- Since Veed uses the auto transcribe method, there may be some errors in the transcribed subtitles. You can check the lines and do the correction if needed.
- Style your subtitles with different font sizes, colors, positions, and canvas.
How To Add Logo To Your Zoom Video on Veed?
Adding a watermark or a logo is the best way to protect content piracy. Veed has inbuilt tools that can help you create some stylish and relatable logos and watermarks for your videos.
- When you open Veed, at the top left corner, you’ll find a toolbar. From that toolbar click on the Image option. Now go to Add Image.
- After this, you can select/choose the desired logo or image for your video and place it wherever you wish to.
- The image size can be adjusted according to your need. You can even change the duration of the image display.
Also, check out 5 Best Free WebCam Recorders And Screen Recording Software.
Adding Background Music To Your Zoom Video using Veed!
Since you are already working hard to bring the best out of your recorded video, you might also want to add a professional touch to your video by adding background music to it.
- From the toolbar, click on the “Audio” button. Now select the Add Audio option.
- You can add any desired music to your project. Adjust the volume and duration of the song carefully.
Save the Changes and Download the Final Zoom Video!
Good work! All your editing is complete. You have added subtitles, added sound, added images, removed the unnecessary part and now it’s time to save the final changes.
Once you have finished all the necessary editing of your video, you can download it by clicking on the “download” option at the right bottom corner on Veed.
Veed will process all your editing and you can save the changes into a .mp4 file.
Also, have a look at 4 Methods to Recover and Watch Deleted YouTube Videos.
To Conclude:
There are so many online video editing tools available on the internet, Veed being one of the best amongst them. Veed is even used by professionals to modify their videos. It’s always good to read the reviews about a tool before using it.
In this post, we talked about How to record and edit high-quality videos on Veed. We also learned how to trim, add subtitles, add images, and background music to our video. Hope you found this article helpful. For more such techie ideas and updates stay tuned!
Featured Image Credits: Veed