
Do you want to make your Facebook photos private? Do you know how to private all photos in Facebook? Well, there could be any reason why you may want to make your Facebook photos private. But don’t worry we will help you out.
Apart from the privacy concern, this step is also teaming up with unscrupulous scammers who want to take the advantage of other people on this platform. To deal with this kinda issue Facebook has customized the setting that will allow you to restrict access to your photos or hide your photos from others.
Now, let’s get to know how to private all photos in Facebook. If you don’t know the answer to this question then this post will surely help you out. Photos > album > three dots > edit > only me > save > done.
Didn’t get what you just read above? No worries, we have mentioned all the steps in detail below, so just scroll down and start treading.
How To Private All Photos In Facebook?
Now, let’s discuss how to private all photos in Facebook. If you want to make your photos private on Facebook then you can change the privacy settings of the whole album or any individual photo. But obviously, the easiest way will know how you can hide photos on Facebook. Here we have mentioned a few steps you need to follow.
- Well, the first thing that you have to do is scroll down till you get to see the photos button. Now, click on it to see your Facebook photos.
- Then you need to find the photos that you want to make private in the albums section.
- Now go to the related team, and tap on the three dots in the upper right-hand side corner of the screen.
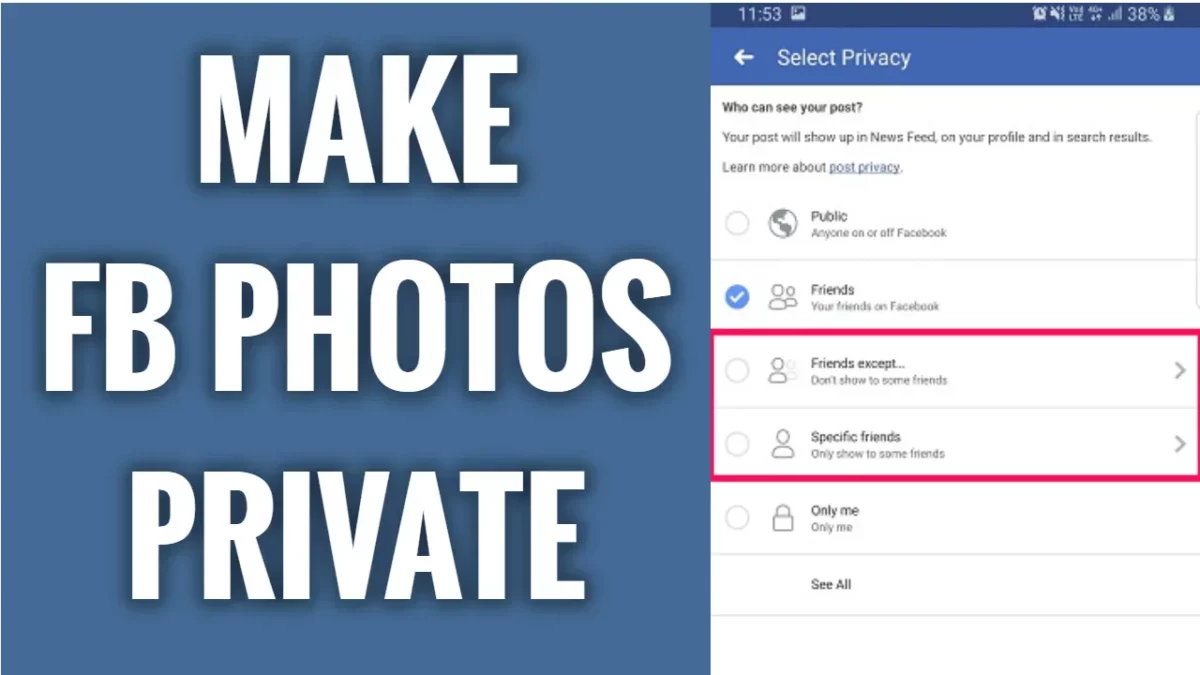
- Choose the edit option. Now, here you will see the section that says friends or public with the icon showing two people. Tap on the button that will change the audience of your album.
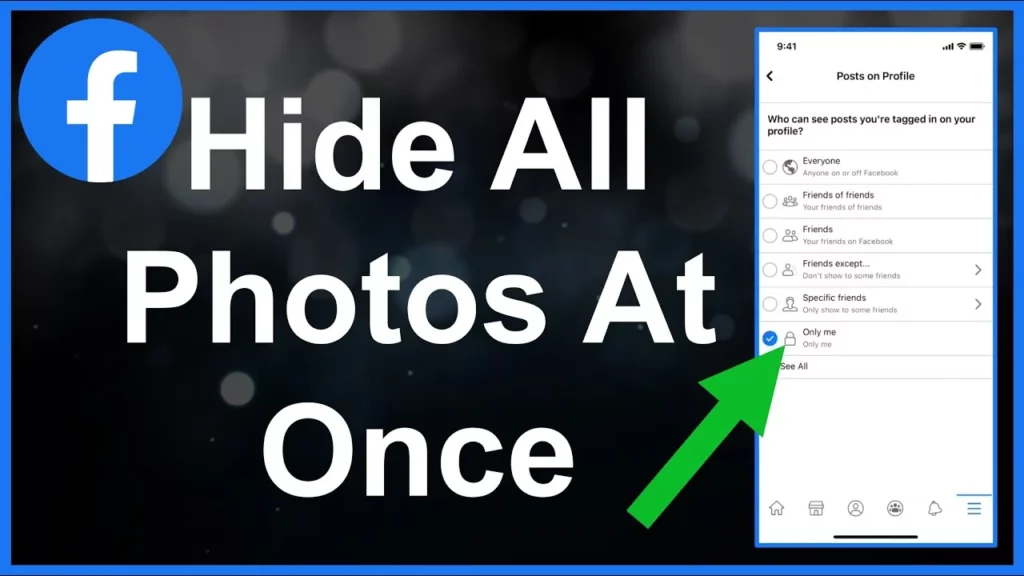
- Now, from here you will be able to control who can view the album. Choose the only me option if you don’t want anyone else but you to see this album and make it private.
- Lastly, click on the back arrow and then tap on the save or done option. This will hide all your photos in your Facebook album.
- However, if you don’t want to make the photos completely private and still want to share them then just with a more limited audience you will be able to choose the audience option for friends, friends except, specific friends.
Related: How To See Someone’s Hidden Friends On Facebook? 4 Official Ways!
How To Make Individual Facebook Photos Private?

Now, after discussing how to private all photos in Facebook, let’s know how you can make individual Facebook photos private. It is important that you remember you will be able to change the privacy setting of certain photos inside some groups or albums. This includes,
- Uploads
- Common photos of you, cover photos.
- Profile photos.
- Timeline photos and mobile photos.
Photos that are uploaded in batches with each other as a part of the album will allow you to change the setting of the album.
Here are a few steps that will help you to know how you can make a single photo on Facebook.
- Go to your profile and then scroll down till you see the photos button. Now click on it to see the Facebook photos.
- Then you need to choose the photos that you want to make private.
- Click on the three dots on the upper right-hand side corner of the screen.
- Here you have to change the privacy settings to only me that you can hide your photo from your timeline and make it private.
- Your new privacy settings will automatically get saved.
Related: How To See Who Views Your Collection On Facebook? A Complete Guide!
How To Hide Your Photos On Facebook From The Public In The Future?
The next time you post a photo then the privacy setting will automatically follow the last settings you have set the photo for. If you set the previous photo to only me then it will be the default audience settings for the next photo that you upload.
If you want to change the audience settings of the photo that you want to upload you need to click on the audience settings button. You will find this below your name.
From here you will be able to change the post audience then tap on the done option so that you can go back to your post. When you want to share the photo must hit the post button.
Always check for this button before you upload or post anything on Facebook. You need to do this to ensure that you are not accidentally sharing the photos or information with people who are outside the platform and outside your friend list.
Related: How To Recover Facebook Password Without Confirmation Reset Code?All Do’s And Don’ts!
Wrapping Up:
Now, after reading this post you do have the answer to how to private all photos in Facebook. The steps are really easy to follow. In this way, your data will be protected as the privacy of your loved ones who want to be in the pictures that you upload.
Frequently Asked Questions
Q. How To Find Private Albums On Facebook?
You can find the private albums on your Facebook, with the help of these steps:
- Click on your profile photo and then click on the photos option.
- Now, tap on the albums and then click on the album which you like to view.
Q. How To Create A Shared Album On Facebook?
If you want to create a shared album on Facebook you need to take a look at these steps.
- Click on your profile picture and then click on the photos option followed by albums.
- Here click on three dots and then hit the edit button.
- In the add contributor section, you have to enter the names of the contributors you want to add and then hit the save button.
Q. How To Create A Privacy Setting For My Photos On Facebook?
To edit the privacy setting from photos on Facebook, follow these steps.
- Tap on your profile picture and then hit on the photo option,
- Now, click on your photos and then the photo of which you want to create the privacy setting.
- Click on three dots and then click on edit post audience.