
Do you know about Apple’s live photos? Omg! The live photos of Apple are the photos that are truly on steroids. When you shoot the live photo on your iPhone it will capture 1.5 seconds of the video before as well as after you click on the shutter. Do you know you can even save these live photos as videos? Do you know How to save a live photo as a video on iPhone?
So, when you shoot the live photo on your phone, then the result will not only be your picture but it will also be the scene that is enhanced by movement and sound as and when you click and hold the image on your device. The live photo first came into being in 2015 along with iPhone 6S. Moreover, the best part is that they can be created easily just like you shoot any other photo.
If you want to know How to save a live photo as a video on iPhone, then you have come to the right place. Here are a few steps that will help you to do: open photos app > select live photo > share > save as video > recent/albums > most recent image.
However, the full-fledged steps that will help you to save the live photo as the video on iPhone have been listed below. You can refer to that steps and proceed.
What Are Live Photos And Can You Take Them?

Before we discuss about How To Save A Live Photo As A Video On iPhone, let us know about Live photos. When you take the live photos, then your iPhone will record the 1.5 seconds before as well as after you take the picture. The video gets saved along with the image. These live photos are kinda poster for the HEIC image format of Apple. This is basically a container file that will store many compressed images and videos in one file without any kind of quality loss.
These live photos by default are enabled on all iPhones, but this feature can even turn on accidentally. If your live photo is enabled you will get to see a circular live icon in the top right-hand side corner of the screen when you take the photo. If this symbol is crossed out the live photos are disabled. So, in this case, you just have to click on the live icon.
How To Save A Live Photo As A Video On iPhone?
So now let’s answer your question on How to save a live photo as a video on iPhone. Well, below we have listed a few steps that will help you to save the live photo as a video easily. So, let’s not keep you waiting and quickly get started.
- Open the photos app and choose the live photo. Now, you may ask how will you know that the photo is live? Well, you will get to know that a photo is a live photo if it says LIVE with the image of circles in the top left-hand side corner of the screen.
- Click on the share button that you will find in the lower left-hand side corner of the screen.
- Now, scroll down and you will find the option Save as Video. Click on it.
- Next, you have to return to the recent or albums option that you will find in the photos app. scroll down to the recent photo that you have taken.
- Here you will see that the live photo will appear as the video in the most recent photo position. From there you will be able to share the video wherever you want to and if you want then you can even convert it to GIF.
Related: How To Find Dead iPhone | The Top Tricks!
How To Save Live Photo As A GIF?
Do you want to save the live photo as a GIF, then here are a few steps that will help you out.
- In the camera roll, you will find the live photo that you may want to save as GIF. These live photos will be indicated by the circular symbol and will have the word Live written on the top left-hand side corner of the screen when you select a single photo.
- Click on the live label so that you open the drop-down menu. There are two options for GIFs. They are loops and bounce. If you select loop, it will just loop the short video portion of the live photo. Rather than jumping back to the beginning of the video, there is a fade light that will make it a bit awkward choice from the short loops. Whilst on the other hand bounce will play the video click and will then reverse it and keep repeating. In short, it will give that boomerang effect that homemade GIFs usually have.
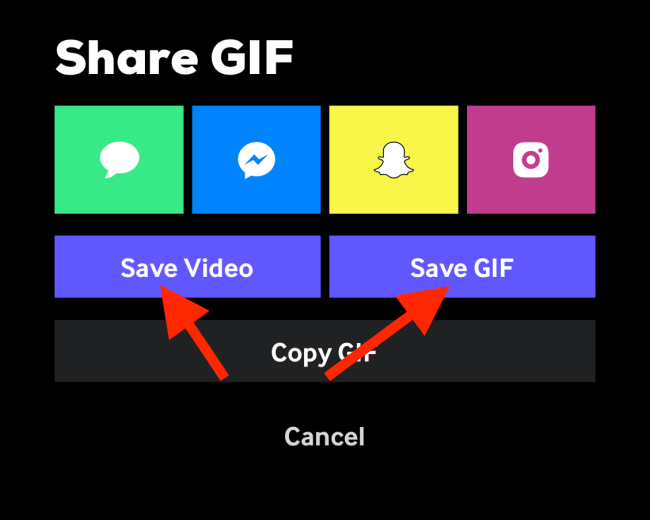
- Now, that you have converted the live photo to either loop or bounce effect you will be able to share as a GIF just like you would any other photo or video. It will send the photo as a GIF file.
- However, when you convert the live photo as GIF it will not create a new version of the image like converting videos. There is just one copy of the file. You can return to the live dropdown menu any time by changing the GIF mode or turning the file to the live photo again.
Related: How To Take Pictures Of The Moon On iPhone | 3 Easy Ways!
Wrapping Up:
So, this is all about How to save a live photo as a video on iPhone. Hope this post was helpful to you. The steps are really easy to follow and you can save the live photo as a video or GIF, whichever you want. If you have any questions, you can reach us in the comment section below.
Frequently Asked Questions
Q. How To Convert Many Live Photos To Video?
If you want to convert multiple live photos to video, then here’s what you need to do:
- On your, iPhone opens the photos app.
- Select the album options and then click on the media types options. Now click on the live photos.
- Select as many photos as you want to.
- Click on the share button and then choose the save as video option.
Q. Can You Convert Live Photo To A Still Photo?
Maybe you want to change the live photo to a still photo to save space. The process makes it easier to share the pictures since they are less in size. Here’s how to change the live photo to a still photo:
- Open the photos app and choose the live photo that you want to convert.
- Click on the edit option.
- Click on the blue live photo icon so that you can change the picture to the static photo. Click on done to save the live photo as the static photo.